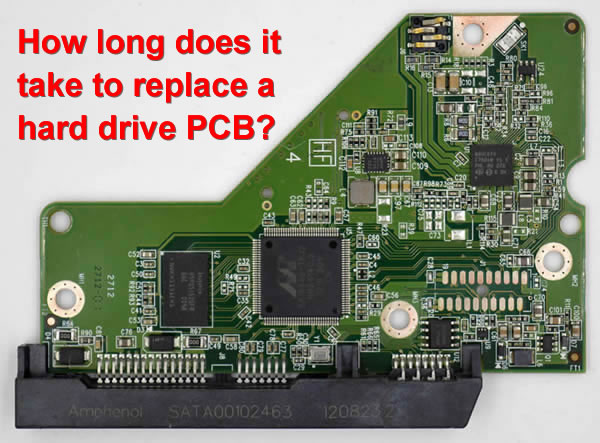
Replacing a hard drive PCB can be a daunting task, especially if you are not familiar with the process. However, it is not as complicated as it may seem. In this post, we will discuss how long it takes to replace a hard drive PCB and provide some tips to help you along the way.

Firstly, it is important to understand what a PCB is and why it may need to be replaced. A PCB, or printed circuit board, is the green board that connects all the components of your hard drive. If it becomes damaged, your hard drive may not function properly. Some common reasons for a damaged PCB include power surges, physical damage, or even just wear and tear over time.
Now, let's get to the question at hand - how long does it take to replace a hard drive PCB? The answer to this question can vary depending on a few factors. If you are experienced with electronics and have the necessary tools and equipment, it could take anywhere from 30 minutes to an hour. However, if you are a beginner or do not have the necessary tools, it could take several hours or even days.
To replace a hard drive PCB, you will need to follow these steps:
1. Identify the make and model of your hard drive.
2. Purchase a replacement PCB that matches your hard drive.
3. Remove the damaged PCB from your hard drive.
4. Install the new PCB onto your hard drive.
5. Test your hard drive to ensure it is functioning properly.
It is important to note that replacing a hard drive PCB can be risky and may not always be successful. If you are unsure about the process or do not have experience with electronics, it may be best to seek professional help.
In conclusion, replacing a hard drive PCB can take anywhere from 30 minutes to several hours depending on your experience and tools. It is important to take caution during the process and seek professional help if needed. Remember to always back up your data to prevent any potential loss during the process.


